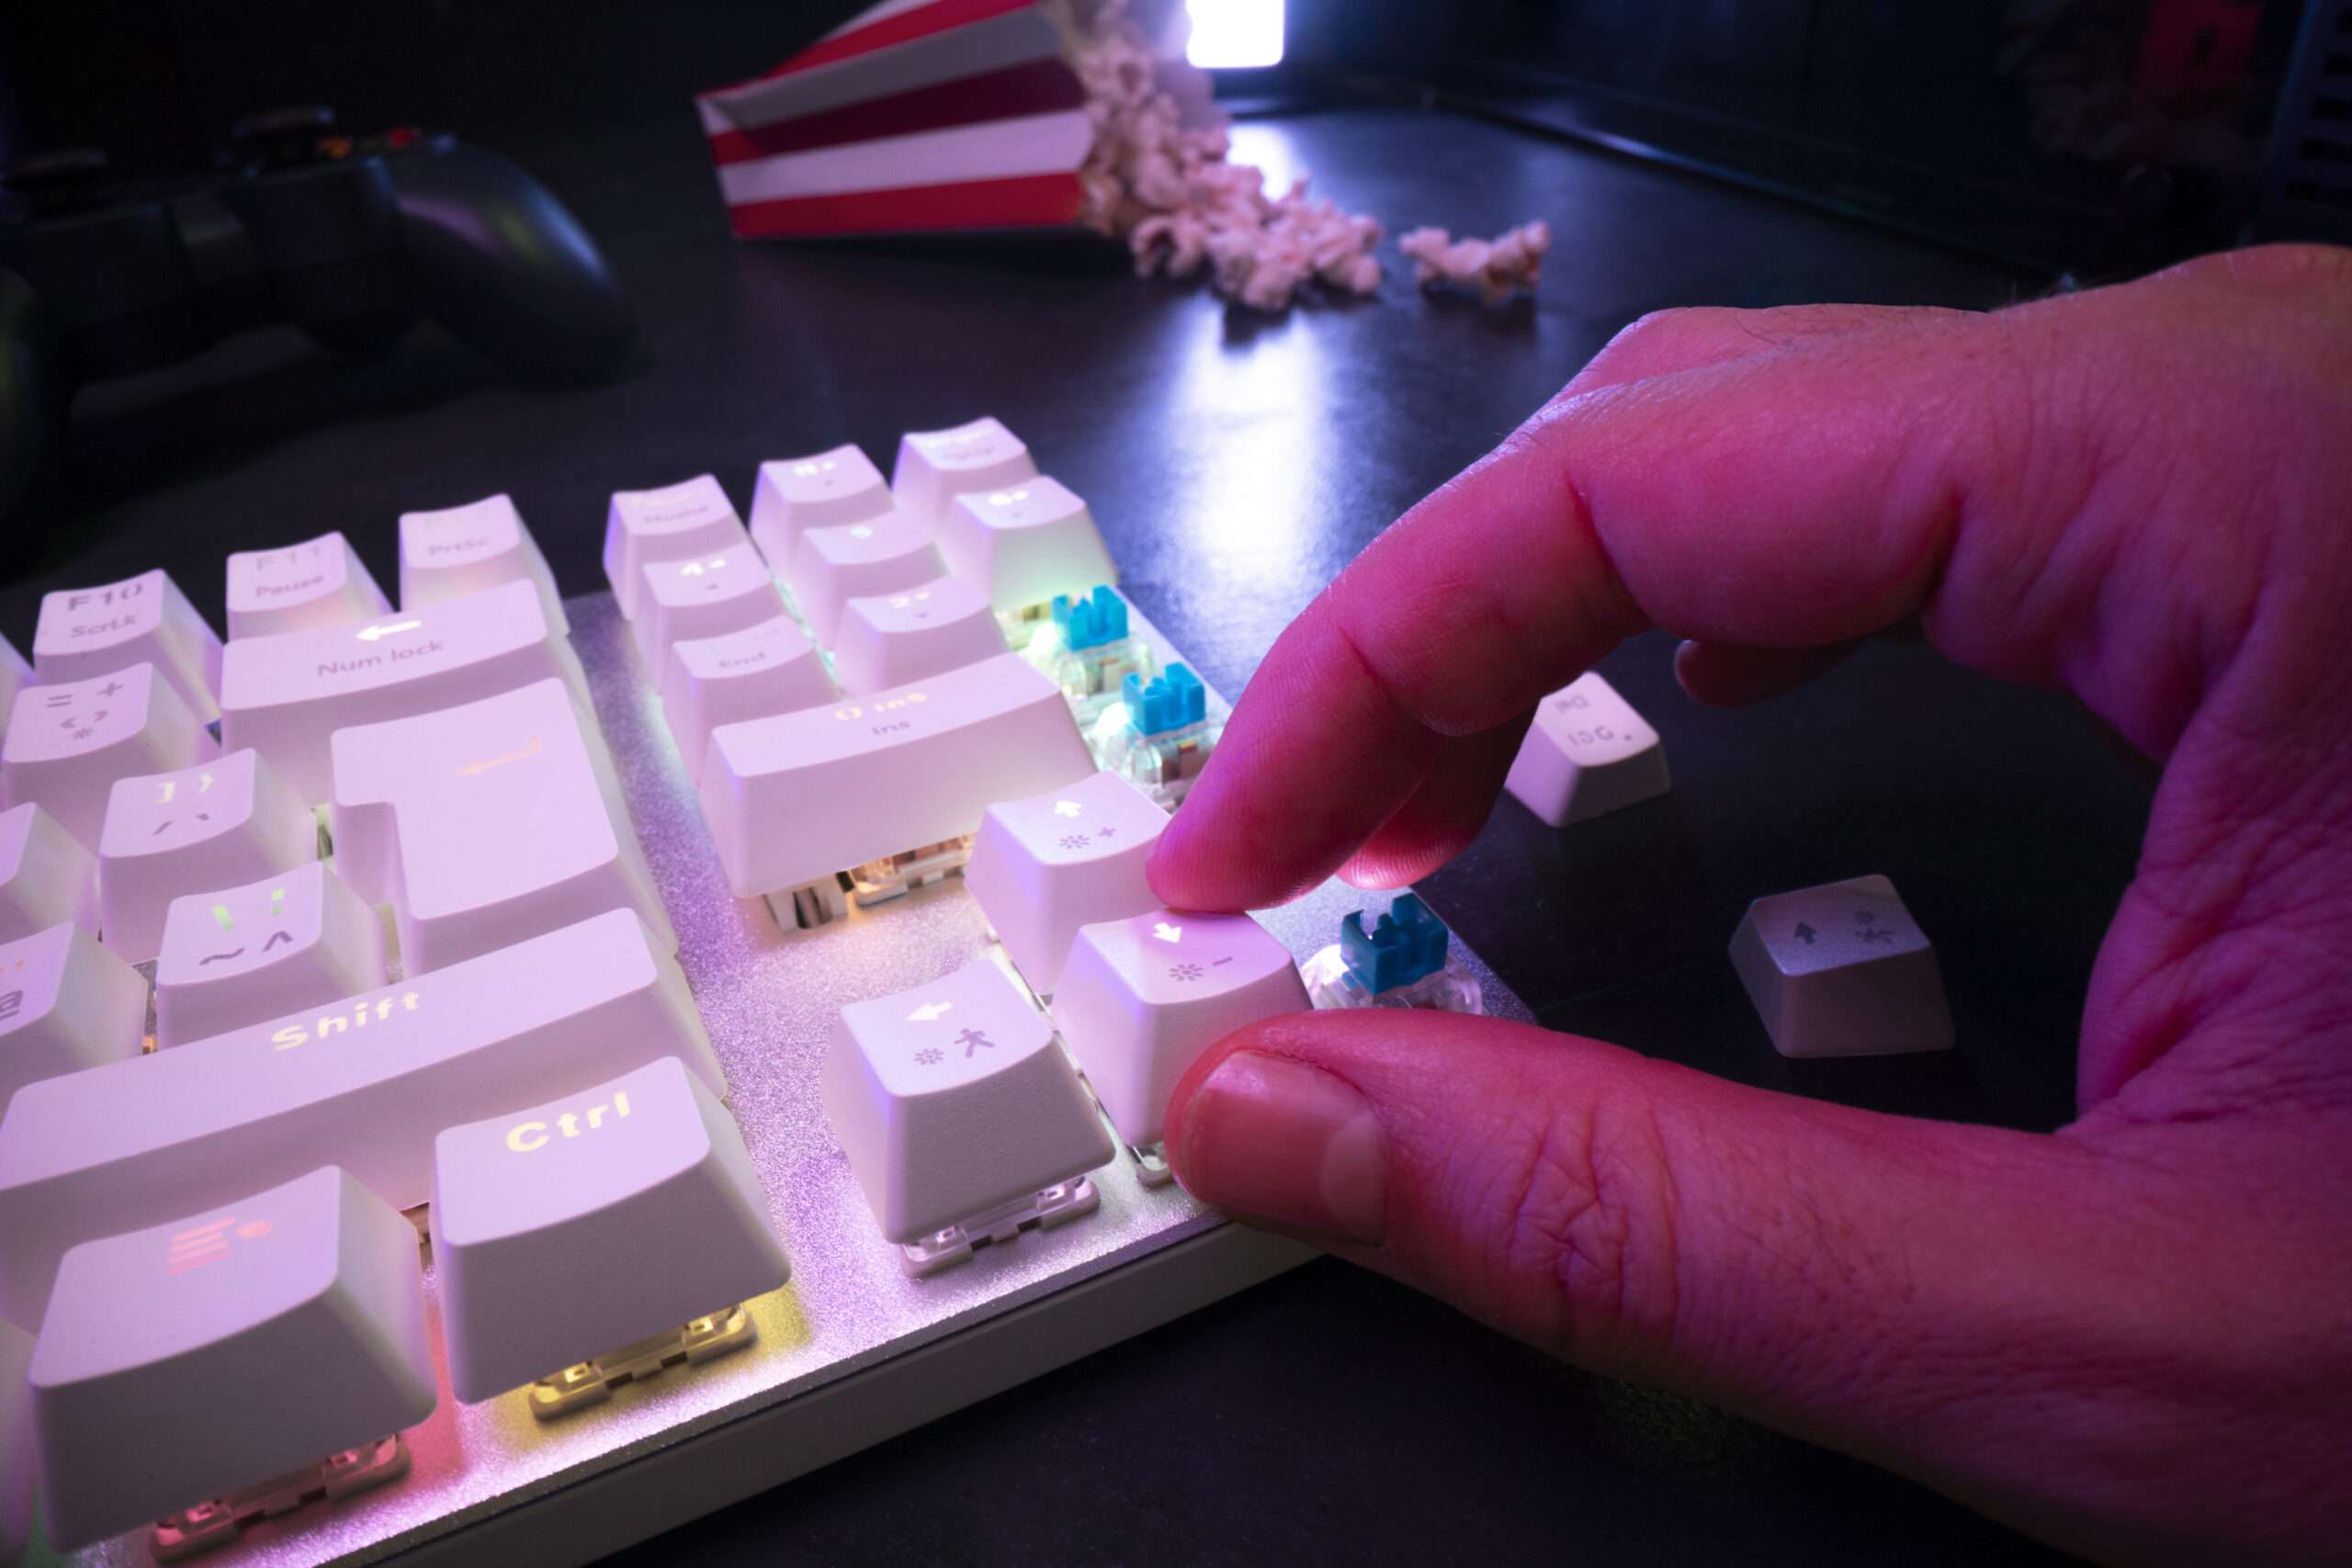
How to Build a Custom Keyboard Leave a comment
Custom keyboards are gaining popularity among tech enthusiasts and typists. They offer a unique typing experience tailored to your preferences—whether it’s for gaming, work, or simply expressing your style. Building a custom keyboard may seem daunting, but with the right guide, anyone can do it. Here’s a step-by-step walkthrough to create your own personalized keyboard.
Step 1: Plan Your Keyboard
Before diving in, think about:
- Layout and Size: Common options include full-size, tenkeyless (TKL), or compact 60%.
- Purpose: Do you need it for gaming, productivity, or aesthetics?
- Budget: Custom keyboards can range from budget-friendly to premium.
Step 2: Gather Your Components
A keyboard consists of several key parts:
- PCB (Printed Circuit Board): The “brain” of your keyboard. Choose one that supports your desired layout.
- Case: Available in various materials like plastic, aluminum, or acrylic, which affect weight and sound.
- Switches: These determine the typing feel. Popular types include:
- Linear (smooth keystrokes)
- Tactile (feedback bump)
- Clicky (audible click)
- Keycaps: These come in various materials (e.g., ABS, PBT) and profiles (e.g., OEM, Cherry).
- Stabilizers: Ensure smooth movement for larger keys like the spacebar.
- Optional Add-ons: RGB lighting, foam for sound dampening, and custom cables.
Step 3: Assemble Your Keyboard
- Install Stabilizers: Snap or screw them into the PCB and lube them for smoother operation.
- Mount the Switches: Align and snap them into the PCB if it’s hot-swappable. For soldered PCBs, you’ll need a soldering kit.
- Test the PCB: Plug it into a computer and use software like VIA or QMK Configurator to ensure all switches work.
- Attach the Plate and Case: Secure your PCB and switches within the plate and case. Tighten screws evenly to avoid misalignment.
Step 4: Customize and Tune
- Lubing Switches: Improves smoothness and reduces noise.
- Sound Dampening: Add foam between the PCB and case for a quieter keyboard.
- Program Your Keyboard: Use software to remap keys and create macros.
Step 5: Add the Finishing Touches
- Snap on your keycaps.
- Attach your custom cable.
- Admire your creation and test it out!
Conclusion
Building a custom keyboard is not just about functionality; it’s a journey of creativity and personalization. Whether you’re after superior typing comfort, unique aesthetics, or top-notch performance, the possibilities are endless.
Ready to start your keyboard-building adventure? Check out Mars Store for the latest switches, keycaps, and more to bring your dream keyboard to life!

